
Moist Chicken Calculator
Stop guessing when your chicken is done. Select your cut and cooking style below to get the precise internal temperature you should pull from the heat (before resting) and how long to let it rest.
You’ve been there. You spend twenty minutes searing a chicken breast, watching it turn golden brown, feeling pretty good about yourself. Then you slice into it, and instead of juicy, tender meat, you’re greeted by something that looks like sawdust and tastes like cardboard. It’s frustrating, right? Most people blame their oven or their pan, but the truth is usually simpler: we just cook our birds wrong.
The secret to moist chicken isn’t some magic spice blend or an expensive gadget. It’s mostly about managing two things: moisture retention and internal temperature. If you can master those, you’ll never serve a dry piece of poultry again. Let’s break down exactly how to do that, from prep to plate.
Why Chicken Dries Out (And How to Stop It)
Chicken muscle fibers are tightly packed with protein strands called actin and myosin. When heat hits these proteins, they contract and squeeze out water. That’s normal. The problem starts when you overcook them. Once the internal temperature climbs past 165°F (74°C), those proteins tighten so much that they wring out almost every drop of juice. And since white meat has less fat than dark meat, there’s no buffer to keep it tasting rich once the water leaves.
So, how do you stop this contraction from ruining dinner? You have three main levers to pull:
- Brining: Adding salt and water before cooking changes the protein structure so it holds onto more liquid.
- Temperature Control: Pulling the chicken off the heat before it hits the danger zone for dryness.
- Resting: Allowing the juices to redistribute so they don’t spill onto the cutting board.
Let’s look at each one closely.
The Power of Brining (Wet vs. Dry)
If you only change one thing in your routine, make it brining. Salt is hygroscopic, meaning it attracts water. When you apply salt to chicken, it initially draws moisture out through osmosis. But if you wait long enough, that salty liquid gets reabsorbed back into the meat, carrying flavor and extra hydration with it. More importantly, salt disrupts the protein bonds, preventing them from tightening too aggressively during cooking.
You have two options here, and both work wonders.
Wet Brining
This is the classic method. Dissolve 1/4 cup of kosher salt and 1/4 cup of sugar in 4 cups of cold water. Submerge your chicken breasts or thighs in this solution for at least 30 minutes, up to 4 hours. Rinse them off and pat them very dry before cooking. This adds significant weight and moisture, making it hard to overcook the bird. However, it requires fridge space and can dilute flavor if not balanced correctly.
Dry Brining
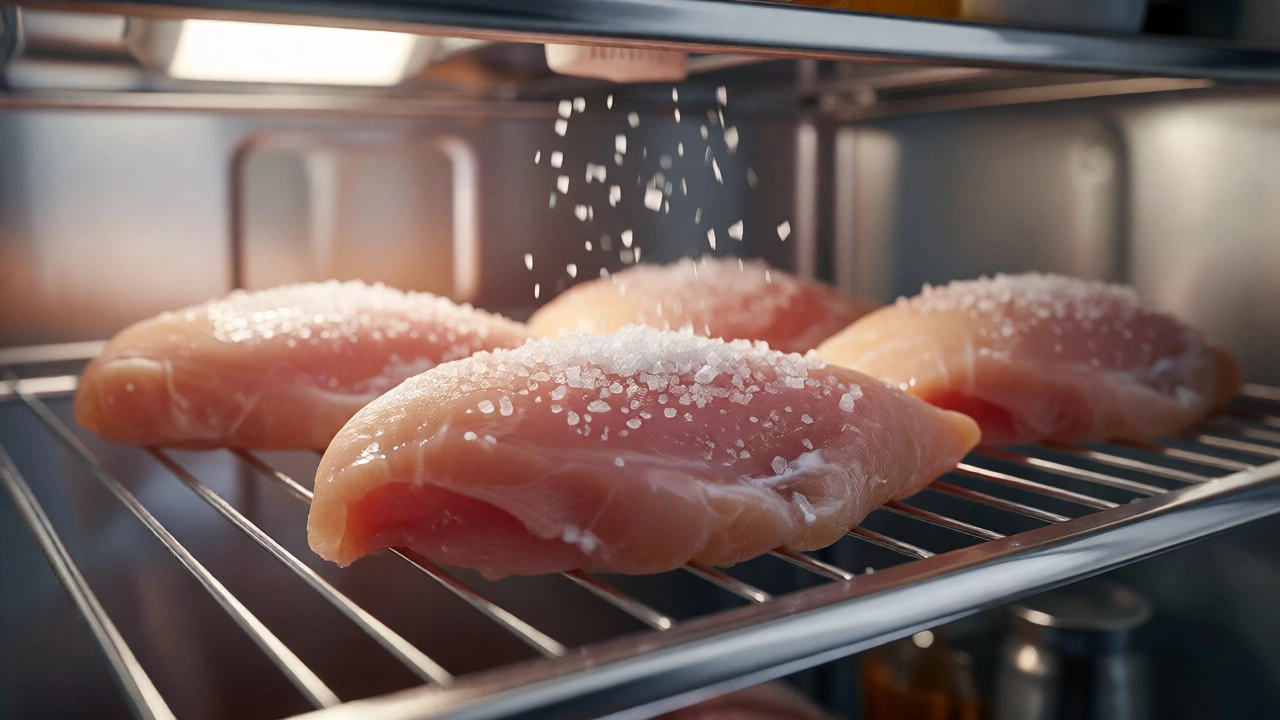
Here’s where I get controversial. Many chefs, including myself, prefer dry brining. Just rub kosher salt directly onto the skinless or skin-on chicken. Place it on a wire rack in the fridge, uncovered, for 1 to 24 hours. The salt pulls out moisture, which dissolves the salt, creating a natural brine that gets reabsorbed. Because it’s uncovered, the surface dries out, which means you get crispier skin when you roast it. Plus, it concentrates the chicken flavor rather than diluting it. For most home cooks, dry brining is easier, cleaner, and yields better texture.
| Feature | Wet Brine | Dry Brine |
|---|---|---|
| Prep Time | Mixing solution required | Rubbing salt only |
| Fridge Space | Needs container/submersion | Wire rack, minimal space |
| Skin Texture | Can be soggy if not dried well | Crispy due to surface drying |
| Flavor Impact | Can dilute natural taste | Concentrates savory notes |
| Best For | Deep frying, quick meals | Roasting, grilling, pan-searing |
Mastering Temperature: The Real Game Changer
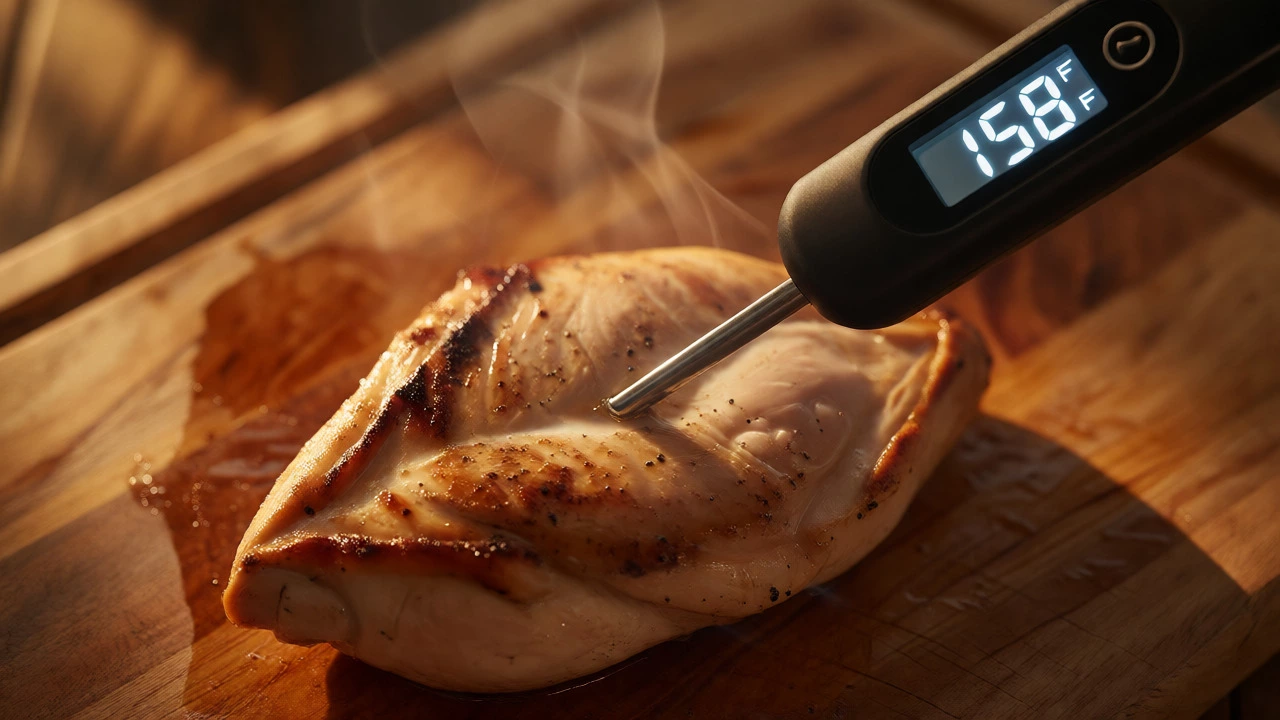
We’ve all been taught to cook chicken to 165°F (74°C). And yes, that’s the safe minimum according to the USDA. But here’s the nuance nobody talks about: carryover cooking. When you take chicken off the heat, its internal temperature continues to rise as the residual heat moves from the outside in. If you pull it at 165°F, it might hit 175°F by the time you slice it. That’s 10 degrees too high for optimal juiciness.
Instead, aim to remove boneless breasts from the heat when they reach 155°F-160°F (68°C-71°C). Thighs can go a bit higher because they have more connective tissue that needs to break down; pull them at 170°F-175°F (77°C-79°C). Use a reliable instant-read thermometer. Guessing by color or clear juices is outdated and risky. A $15 digital probe will save you more money in wasted groceries than any fancy appliance.
One trick I use in my Manchester kitchen: start cold. For thick cuts, place the chicken in a cold pan, add oil, and then turn on the medium-low heat. This gentle ramp-up allows the inside to cook nearly as fast as the outside, reducing the gradient between the edges and the center. No more gray bands around perfectly pink centers.
The Art of Resting Meat
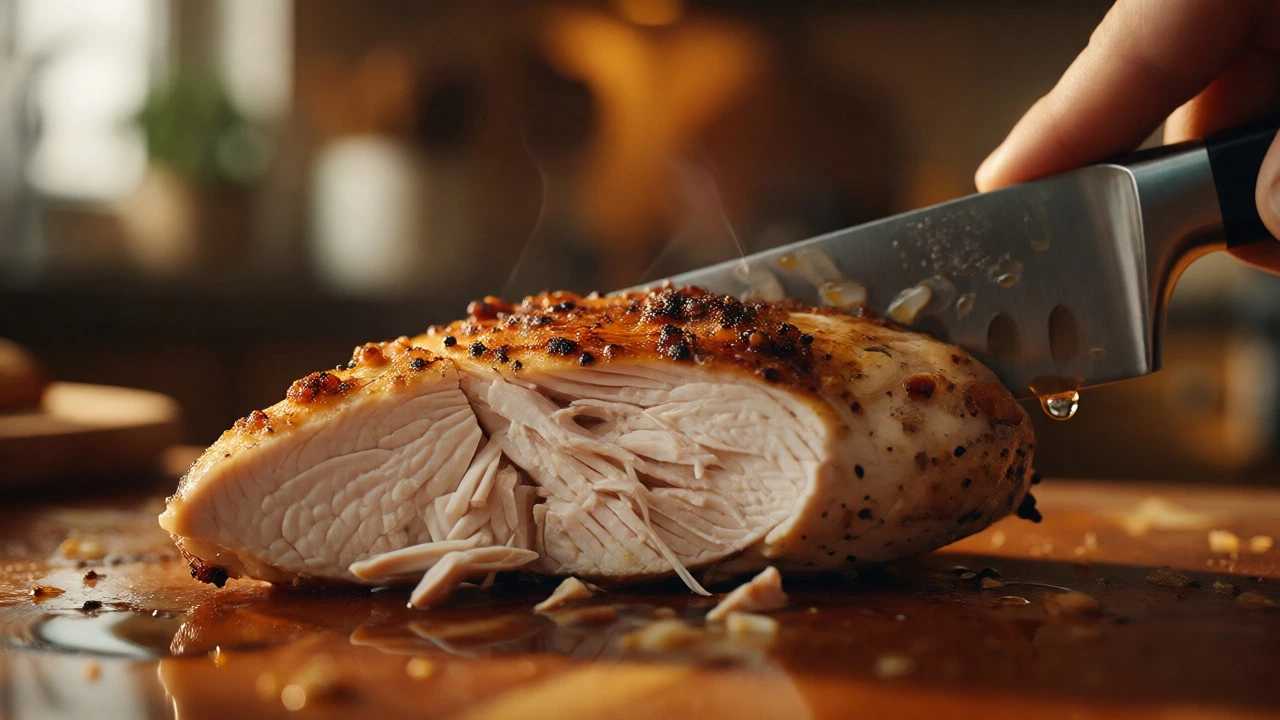
You cut into hot chicken, and juice floods the plate. Why? Because the proteins are still contracted from the heat, squeezing the fluids toward the cooler outer layers. When you rest the meat, the temperature drops slightly, the proteins relax, and the juices redistribute evenly throughout the cut.
How long should you rest? For thin breasts, 5 minutes is plenty. For whole birds or thick thighs, give it 10-15 minutes. Tent it loosely with foil-don’t seal it tight, or you’ll steam the crispy skin away. This step feels like waiting, but skipping it undoes all the hard work you did with brining and temperature control.
Cooking Methods Matter
Not all methods treat moisture equally. Here’s what works best for keeping chicken succulent:
- Poaching: Cooking in gently simmering liquid (water, broth, milk) keeps the environment humid. Great for shredding chicken for salads or tacos. Keep the liquid below a boil to avoid toughening the proteins.
- Butterflying: Spatchcocking a whole chicken or butterflying breasts ensures even thickness. This means the thinner parts don’t overcook while the thicker parts catch up. It reduces cooking time significantly, limiting exposure to drying heat.
- High-Heat Searing + Low-Heat Finishing: Sear the outside quickly to build flavor, then finish in a low oven (300°F/150°C). This gives you control over the final temperature without burning the exterior.
Avoid boiling chicken vigorously. Rapid bubbles agitate the meat, causing the fibers to seize up and expel moisture rapidly. Gentle poaching is key.
Common Mistakes That Ruin Juiciness
Beyond temperature and brining, small habits sabotage results. First, overcrowding the pan. If you throw too many pieces into a skillet, the temperature drops, and the chicken steams instead of sears. Steam softens the crust and traps moisture unevenly. Cook in batches if needed.
Second, poking holes with a fork. Every time you stab the meat to check doneness, you create escape routes for juice. Use tongs to flip and a thermometer to check. Third, using lean cuts incorrectly. Chicken tenders and breasts are unforgiving. If you want a foolproof dish, switch to thighs. They contain about 10% fat compared to the 2% in breasts, making them far more resistant to drying out. Don’t force a recipe that demands breasts if you’re struggling with dryness-swap in thighs and enjoy the forgiveness.
Final Thoughts: Simple Wins
You don’t need to overhaul your entire cooking style. Start with dry brining overnight. Buy a decent thermometer. Pull your chicken early. These three shifts alone will transform your results. Remember, moist chicken isn’t luck-it’s physics. Respect the science, trust your tools, and your family will wonder why your chicken suddenly tastes like restaurant quality.
Do I really need to brine my chicken?
While not strictly mandatory, brining is the single most effective technique for ensuring moisture, especially for lean cuts like breasts. Dry brining (salting ahead of time) is often preferred for roasting because it also helps crisp the skin. If you skip brining, be extremely careful with temperature control.
Is 165°F always the correct temperature for chicken?
No, not necessarily. While 165°F is the safety standard, you can safely hold chicken at lower temperatures for longer periods (pasteurization is a function of time and temperature). For practical home cooking, pulling breasts at 155°F-160°F and letting them rest achieves 165°F via carryover cooking while keeping them juicier.
Why is my chicken rubbery instead of dry?
Rubbery texture often comes from overcooking, but it can also result from freezing issues. If chicken was frozen slowly or thawed improperly, ice crystals can damage cell structures, leading to moisture loss and a tougher texture upon cooking. Always buy fresh or properly flash-frozen chicken.
Can I brine chicken that already has added solutions?
Check the label. If it says "contains up to X% of a solution," it’s already been injected with salt and water. Additional brining might make it too salty. In this case, skip the brine and focus on temperature control and resting.
Does resting time vary by cut size?
Yes. Thin-cut breasts need only 3-5 minutes. Whole chickens or large bone-in thighs require 10-15 minutes. The larger the mass, the longer it takes for heat to equalize and juices to settle.