Chicken Moisture Calculator
Pull chicken at 155-160°F to account for carryover cooking of 5-10 degrees.
Allow 5-10 minutes rest for breasts, 15-20 minutes for whole chickens.
Salt breaks down myosin proteins, creating a super-sponge effect for moisture retention.
Have you ever taken a bite of restaurant chicken and wondered how it stayed so perfectly juicy while yours turned into dry leather at home? It’s not magic. It’s not secret ingredients hidden in the back room. It is pure science, combined with techniques that most home cooks overlook because they seem like too much effort. But here is the truth: achieving that level of moisture isn’t about luck. It is about controlling heat, understanding protein structure, and using simple methods that transform tough muscle fibers into tender, flavorful bites.
The difference between your home-cooked meal and a professional dish often comes down to three main factors: preparation, cooking method, and resting time. When you get these right, you stop fighting against the natural properties of the meat and start working with them. Let’s break down exactly what happens inside the kitchen when chefs make chicken that stays moist from edge to center.
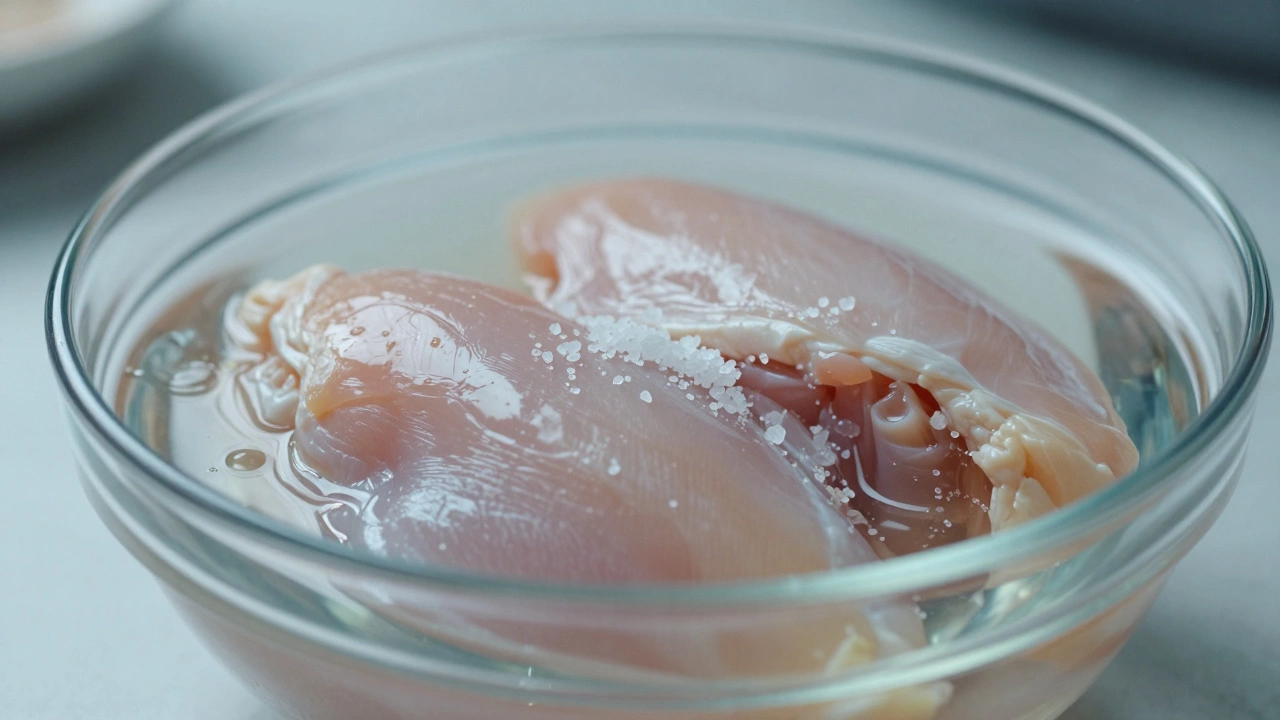
The Brine Effect: Why Salt Changes Everything
One of the biggest secrets behind moist restaurant chicken is something called brining. This process involves soaking the meat in a solution of water and salt before cooking. You might think this is just for Thanksgiving turkeys, but pros use it on every cut of poultry they serve.
When salt touches raw chicken, it doesn't just sit on the surface. It penetrates the muscle fibers through a process known as osmosis. At first, the salt draws some moisture out of the cells. But then, something interesting happens. The salt breaks down some of the proteins in the meat, specifically myosin. These broken-down proteins can hold onto water much more effectively than intact ones. Think of it like turning a sponge into a super-sponge. Instead of squeezing out liquid when heated, the meat retains it.
Chefs usually use a wet brine for larger cuts or a dry brine (just salting the skin and letting it sit uncovered in the fridge) for smaller pieces. A dry brine takes less time and concentrates flavor better. If you leave a chicken breast in the fridge with a heavy coat of kosher salt for twelve hours, you will notice a dramatic change in texture. The meat becomes firmer yet juicier after cooking. This step alone solves half the problems people face with dry poultry.
Temperature Control: The Danger Zone
The second major factor is temperature control. Most home cooks cook chicken until it looks white throughout or until a thermometer reads somewhere around 180°F (82°C). That is where the moisture goes. Chicken breast is lean muscle tissue. It contains very little fat compared to thighs or wings. As soon as the internal temperature hits 165°F (74°C), the proteins begin to tighten aggressively. They squeeze out all the remaining water. By the time you reach 180°F, the meat is essentially dehydrated.
In professional kitchens, chefs rely on precision tools. They pull chicken off the heat when it reaches about 155°F to 160°F (68°C-71°C). Why lower than the recommended safe temperature? Because of carryover cooking. Once you remove meat from a hot pan or oven, it continues to cook internally for several minutes. The residual heat raises the temperature by another 5 to 10 degrees. So, pulling it early ensures it rests right at the perfect safety line without crossing into dry territory.
If you don't have an instant-read thermometer, you are guessing. And guessing usually leads to overcooking. Investing in a good digital probe is one of the best moves you can make for consistent results. It removes the guesswork and gives you total control over the final texture.
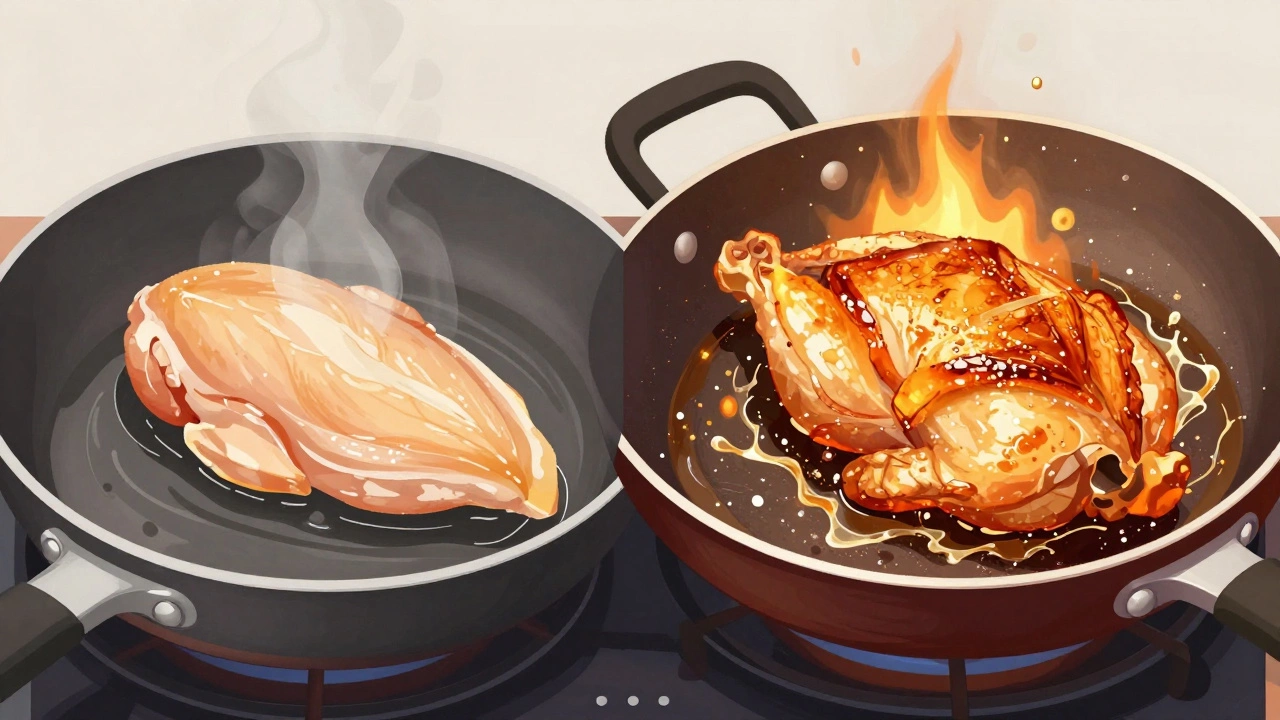
High Heat vs. Low and Slow
Another technique restaurants use is managing the heat source carefully. Many people blast their stove to high and sear chicken quickly. While this creates a nice crust, it often leaves the interior undercooked or forces the cook to finish it in the oven, leading to uneven textures. Professional chefs often use a two-stage cooking method.
First, they might poach or sous-vide the chicken at a low temperature to bring the entire piece up to an even, precise internal temp. Then, they finish it with a quick sear in a blazing hot pan or under a broiler to develop color and flavor on the outside. This way, the exterior gets crispy and browned via the Maillard reaction, while the interior remains gently cooked and full of juice.
At home, you can mimic this by starting your chicken in a cold skillet with a lid on. Let it steam gently for a few minutes to cook through evenly, then remove the lid and let the bottom crisp up. It sounds counterintuitive to start cold, but it prevents the outer layers from burning before the center is done.
| Method | Moisture Level | Difficulty | Best For |
|---|---|---|---|
| Pan-Frying High Heat | Low to Medium | Easy | Thick cuts, quick meals |
| Baking/Roasting | Medium | Easy | Whole birds, large batches |
| Sous-Vide | Very High | Hard | Precision cooking, events |
| Poaching then Searing | High | Medium | Tender breasts, salads |
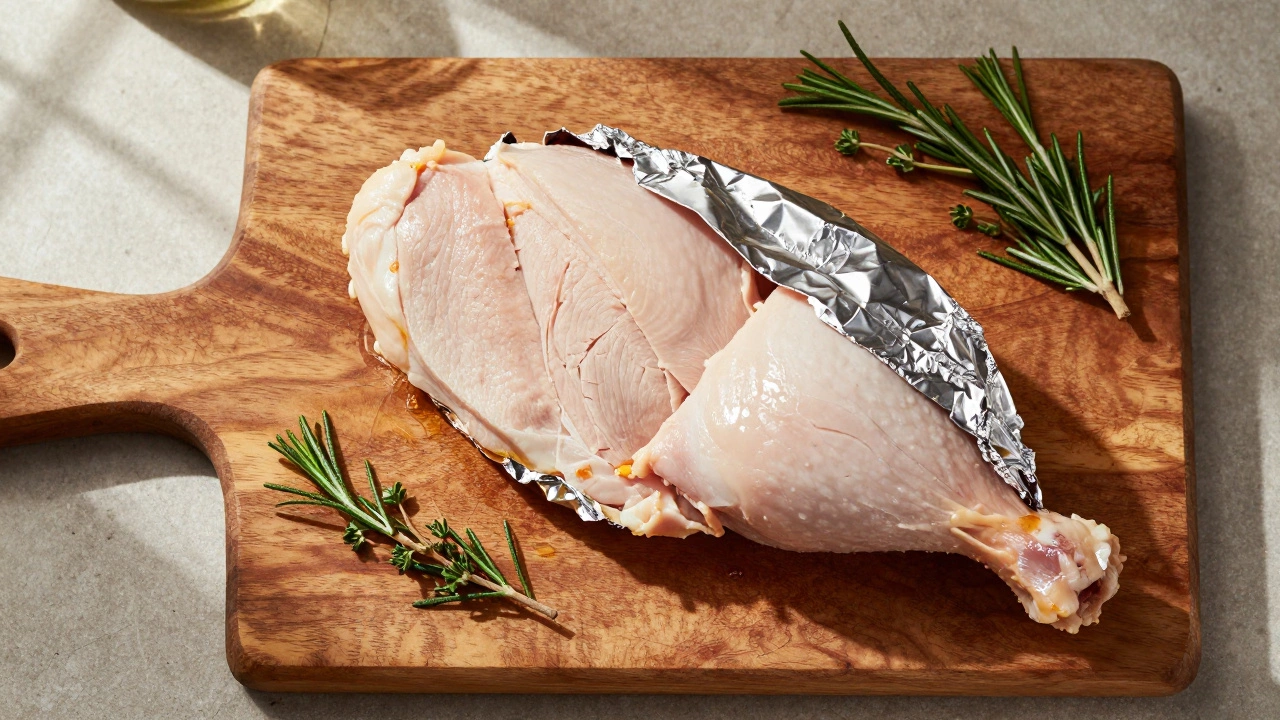
The Importance of Resting Meat
You’ve cooked the chicken perfectly. You pulled it at 160°F. You’re ready to eat. Stop. If you cut into it now, you will lose all that hard work. Resting meat is not just a suggestion; it is a physical necessity for juicy results.
When meat cooks, the heat causes the muscle fibers to contract and push toward the center. All the juices get forced to the middle of the cut. If you slice immediately, those juices spill out onto your cutting board. They are gone forever. By letting the chicken rest for five to ten minutes, the fibers relax. The juices redistribute evenly throughout the meat instead of pooling in the center. This redistribution locks in the moisture, ensuring every bite tastes as good as the last.
Chefs often tent their cooked chicken loosely with foil during this time. It keeps the meat warm without trapping too much steam, which could soften any crispy skin you worked hard to create. Patience here pays off instantly in flavor and texture.
Fat Content Matters Too
Not all chicken parts are created equal. If you want moist chicken, consider which cut you are buying. Breast meat is practically all lean protein. It has almost no marbling-those streaks of fat found in beef-that help keep things lubricated during cooking. Thighs and legs, on the other hand, contain significantly more connective tissue and fat.
This makes dark meat naturally more forgiving. You can slightly overcook a thigh, and it will still taste decent because the fat renders out and bastes the meat from the inside. However, if you prefer white meat, you must compensate for its lack of fat. This is why basting, butter-basting, or cooking chicken in its own skin helps. The skin acts as a protective barrier, shielding the delicate flesh underneath from direct heat while rendering its own fat to keep the surface moist.
Some restaurants inject marinades directly into the breast meat. This adds both flavor and extra liquid volume that wouldn't normally be there. While you probably won't do this at home, adding a bit of oil or yogurt to your marinade can help coat the proteins and slow down moisture loss during the initial stages of cooking.
Common Mistakes That Dry Out Chicken
Avoiding errors is just as important as following the right steps. Here are the most common pitfalls that lead to sad, dry dinners:
- Skipping the thaw: Cooking frozen or partially frozen chicken requires longer cooking times, which inevitably dries out the outer layers before the center thaws. Always thaw completely in the refrigerator overnight.
- Crowding the pan: Putting too many pieces in a small skillet lowers the temperature drastically. The chicken steams in its own juices rather than searing. Steam makes the skin soggy and extends cooking time unpredictably.
- Ignoring thickness: Uneven breasts cook unevenly. Pound thicker ends to match the thinner parts, or cut thick breasts horizontally into two thinner fillets. Uniform thickness means uniform cooking.
- Using cheap thermometers: Analog dial thermometers are often inaccurate by several degrees. Digital probes give you the exact number you need to avoid overcooking.
By fixing these habits, you eliminate the variables that cause failure. Consistency comes from removing chaos from your cooking process.
Does pounding chicken make it moister?
Pounding chicken primarily helps with even cooking by creating uniform thickness. It also physically breaks down tough muscle fibers, making the meat more tender. While it doesn't add moisture directly, preventing overcooking due to uneven thickness indirectly preserves juiciness.
Can I use baking soda to make chicken tender?
Yes, this is a technique known as velveting, popular in Chinese cuisine. Baking soda raises the pH of the meat's surface, preventing proteins from bonding too tightly. This results in a softer, silkier texture. Use sparingly-a teaspoon per pound-and rinse it off before cooking to avoid soapy flavors.
Is it better to cook chicken skin-side down or up?
For crispiness, start skin-side down in a cold pan and let it render slowly. This melts the fat beneath the skin, crisping it up without burning. Flip only once to finish cooking. Starting skin-side up can lead to soggy skin if the pan isn't hot enough initially.
Why does my chicken taste bland even if it's moist?
Moisture and flavor are separate issues. If you focus only on keeping it juicy, you might neglect seasoning. Season generously before cooking. Remember, salt enhances natural flavors. Also, ensure your sauce or marinade complements the mild taste of poultry rather than overpowering it.
How long should I rest chicken after cooking?
Small pieces like tenders need about 3-5 minutes. Standard breasts require 5-10 minutes. Whole chickens or large roasts should rest for at least 15-20 minutes. The rule of thumb is roughly one minute of rest per ounce of weight to allow juices to settle properly.