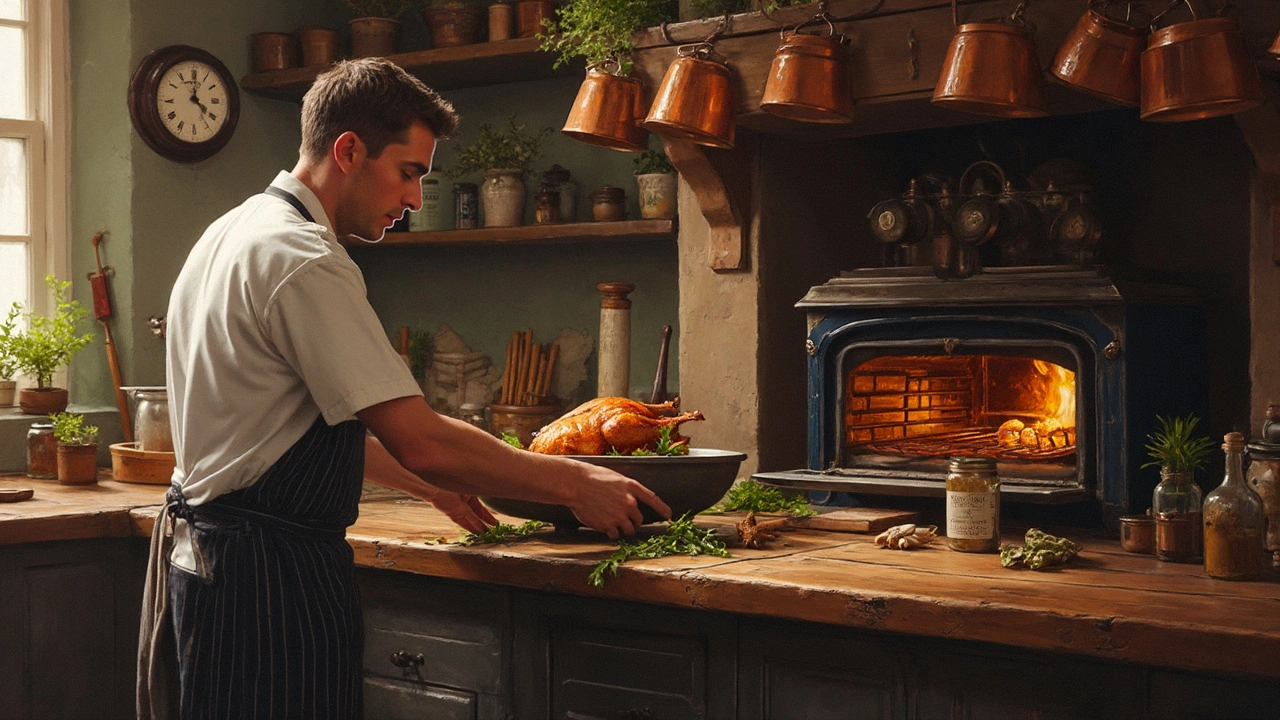
Ever pulled a tragically dry chicken out of the oven and thought, 'Never again?' You're not alone. Oven-baked chicken has the potential to be succulent, but sometimes it ends up like shoe leather. What's the secret to avoiding this? Turns out, it's simpler than you think.
First up, it's all about prep. Spend a bit of extra time getting the chicken ready, and you're halfway there. Consider a brine; soaking your chicken in a saltwater solution can make a world of difference. It not only seasons the meat but also helps it retain moisture. Remember that perfect Sunday roast you had once? Brining might just have been the unsung hero.
- Understanding the Basics of Chicken Cooking
- Prepping Your Chicken: The Right Way
- The Magic of Brining
- Cooking Temperature and Time
- Resting: The Underestimated Hero
- Putting It All Together: A Recipe
Understanding the Basics of Chicken Cooking
Cooking chicken might seem straightforward, but getting it just right requires knowing a few key things. Let's break it down so you can master the art of keeping chicken juicy in the oven.
One of the first things to consider is the chicken cut. Whole chickens, thighs, breasts—they all cook differently. Breast meat is a delicate thing; it can dry out quickly because it's lean. Thighs and drumsticks, with their higher fat content, are a bit more forgiving when it comes to moisture.
The next thing to think about is the skin. If you're cooking with skin-on chicken, it can act as a barrier, locking in juices and adding flavor. If you're going skinless, you'll want to pay extra attention to seasoning and moisture retention techniques like marinating or brining.
Another geeky but crucial factor is the oven temperature. Slow and steady wins the race when it comes to oven-baked chicken. Cooking at a lower temperature (around 160°C/320°F) allows the meat to warm steadily and helps in achieving that tender texture without drying it out.
Timing is everything! Overcooking is a common mistake that leads to dry meat. The usual safe internal temperature for cooked chicken is 75°C (165°F), but pulling it out of the oven just a bit before it hits this point and letting it rest will allow it to reach the perfect temperature without overshooting.
You can experiment by tracking your oven's accuracy too; not all ovens are created equal. An oven thermometer can reveal if yours runs hot. This little tool could be your secret weapon in the quest for the perfect oven-cooked chicken.
Prepping Your Chicken: The Right Way
Getting your chicken ready before it even sees the oven is key to avoiding dry disappointment. It's like laying the foundation for a house – you need it solid. Start by ensuring your chicken is properly thawed. Frozen spots can cook unevenly, contributing to dryness.
Next, think about marinating. A good marinade can infuse flavor and keep things moist. But don't just pour a bottle over your chicken and call it a day. Ideally, marinate it for a few hours, if not overnight. A simple mix of olive oil, garlic, lemon juice, and herbs does wonders.
If you're really committed, give your bird a fast but effective massage with a dry rub. Salt, pepper, and paprika are your best friends here. Just make sure to evenly coat the chicken, focusing on those tricky spots like the inside of the thighs.
Another tip: trussing. This means tying the chicken legs together with twine. Why bother? It keeps the shape compact so it cooks evenly. And as a result, it stays juicier. Trust me, it's worth the tiny extra effort.
Finally, think about the pan you'll use. A roasting pan with a rack lifts the chicken, allowing heat to circulate evenly. This can prevent those soggy bottom scenarios and keeps your chicken evenly cooked and full of flavor.
Follow these steps, and you're on your way to juicy chicken magic.
The Magic of Brining
If you're wondering why some chickens come out of the oven dry as dust while others are delightfully juicy, the answer often lies in brining. This age-old technique is a game-changer for keeping your chicken moist, especially when cooking in the oven.
So, what's the deal with brining? It's pretty straightforward. A brine is simply a mix of water and salt, sometimes with a touch of sugar or some herbs for extra flavor. When you soak the chicken in this solution, the salt does its magic, breaking down some of the chicken’s proteins and allowing moisture to be absorbed. Essentially, this means when you cook that chicken later on, it'll lose less water and, spoiler alert, stay nice and juicy.
Here's how you can do a basic brine at home:
- Mix It Up: Combine 1/4 cup of salt with 4 cups of water. If you’re feeling fancy, add a tablespoon of sugar, some peppercorns, and a couple of bay leaves. Stir until the salt and sugar dissolve completely.
- Soak Time: Place your chicken in the solution, making sure it's completely submerged. Pop it in the fridge, letting it soak for at least an hour. For the best results, especially with larger pieces, go for 12-24 hours but not more than that—it’s a fine balance.
- Cooking Prep: Once brined, take out the chicken, rinse it off to remove excess salt, and pat it dry. Now, it’s ready for seasoning and cooking.
Word to the wise: always keep chicken in the fridge while brining to prevent any unwanted bacteria adventures. Brining is not just about the juicy chicken; it’s about flavor too. The salt and optional herbs infuse the meat, giving every bite an extra oomph.
Brining might take a little extra time, but trust me, it’s worth it to avoid another dry dinner disaster. Ready to give it a go next Sunday?
Cooking Temperature and Time
Getting the cooking temperature and time right is like choosing the right path in a labyrinth—it leads to juicy, delicious chicken! So, what's the sweet spot? It's all about moderation and timing.
Let’s talk temperature. You might think cranking your oven to a high heat will speed things up, but slower and lower is the way to go for tender results. Aim for an oven temperature around 350°F (175°C). This allows the chicken to cook gently, keeping it juicy rather than dried out.
Now, onto cooking time. It varies depending on the cut. A standard rule of thumb for a whole chicken is 20 minutes per pound, plus an additional 15 minutes to ensure it's done. For chicken breasts, around 25-30 minutes will usually do the trick, and thighs take about 35-40 minutes. But don't forget to check with a meat thermometer; aim for an internal temperature of 165°F (74°C) at the thickest part to be sure it’s safe to eat.
Here's a quick reference:
- Whole Chicken: 20 minutes per pound + 15 minutes
- Chicken Breasts: 25-30 minutes
- Chicken Thighs: 35-40 minutes
Keep in mind, cooking too long, even at a low temperature, will still turn your meal into something fit only for the dog. Set a timer, stay in the kitchen (or at least near it), and you'll have a moist chicken that's truly satisfying.
To help visualize this, imagine this simple breakdown:
| Cut | Oven Temp (°F) | Cooking Time |
|---|---|---|
| Whole Chicken | 350°F | 20 min/lb + 15 min |
| Chicken Breasts | 350°F | 25-30 min |
| Chicken Thighs | 350°F | 35-40 min |
Following these guidelines is like having a foolproof map to your destination. Before you know it, you'll be serving up a juicy chicken masterpiece, making it look as easy as pie. Well, chicken pie, maybe!
Resting: The Underestimated Hero
So you’ve cooked that juicy chicken in the oven, and you're itching to dig in. But wait! Here’s the kicker—resting your chicken is more crucial than you'd think. Many folks skip this step, thinking it's no biggie, but it's vital if you want your chicken to stay juicy and not transform into a dry desert.
When chicken comes out of the oven, the juices are all excited and rushing around inside. Cutting it open right away can make those juices run out, leaving the meat dry. Letting the chicken rest gives the juices time to settle back into the meat fibers, so every bite you take later is moist and flavorful.
So, how long should you rest it? Generally, 10 to 15 minutes will do the trick for most average-sized chickens. It's a small investment of time for a big payoff. Just cover the chicken loosely with foil to keep it warm, and you’ll be golden. This little patience test is a sure-fire way to keep your chicken recipes in top form.
And here’s a fun fact: professional chefs like to rest their meats for almost the same amount of time they cooked them. While it’s a bit extreme for home cooks, it goes to show just how important resting is in the culinary world!
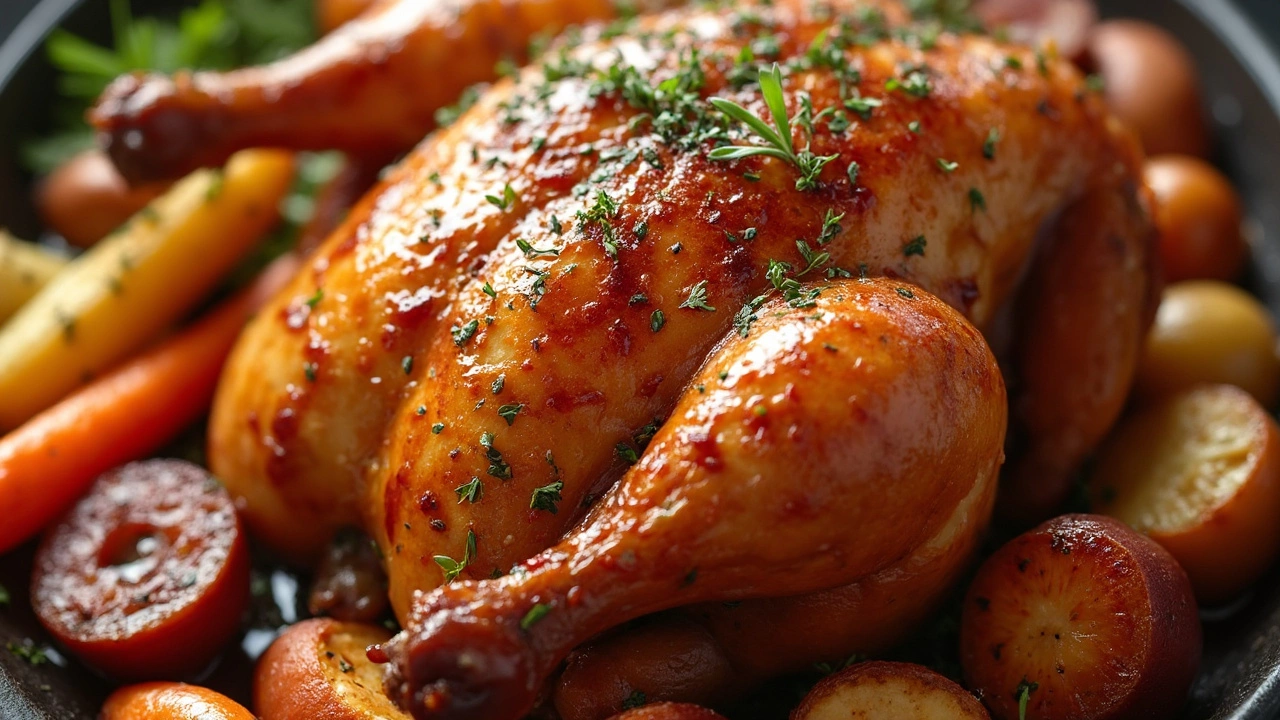
Putting It All Together: A Recipe
If you're ready to take action and lock in the juiciness, let's get straight to business with a classic recipe that'll have dinner guests asking for seconds. Here's how to keep your chicken perfectly moist and flavorful.
What you'll need:
- 4 chicken breasts (or thighs if you fancy a bit more flavor)
- 1/4 cup salt
- 4 cups water
- 2 tablespoons olive oil
- 1 teaspoon black pepper
- 1 teaspoon garlic powder
- 1 teaspoon paprika
- Fresh herbs like thyme or rosemary (optional but amazing)
Step-by-step Instructions:
- Brine the Chicken: In a large bowl, dissolve the salt in four cups of water. Submerge the chicken pieces and let them soak for about 1 to 2 hours in the fridge. This simple step will dramatically up the juiciness factor.
- Preheat the Oven: Once brined, remove the chicken and pat them dry with paper towels. Meanwhile, preheat your oven to 200°C (about 400°F).
- Season the Chicken: Brush each piece with olive oil, then season with black pepper, garlic powder, and paprika. Toss on some fresh herbs if you’re using them. The olive oil ensures a crispy skin, while seasoning boosts the flavor.
- Roast: Place the chicken in a baking dish and roast for 20-25 minutes, depending on the size. Keep an eye on them; they’re done when the internal temperature hits 75°C (around 165°F)—this ensures safety and juiciness.
- Let it Rest: Take the chicken out of the oven and let it rest for at least 5-10 minutes before cutting. It might be tempting to dig in, but allowing it to rest makes sure those juices stay put.
There you have it—your straightforward guide to avoiding dry disaster and mastering juicy chicken recipes. Pair it with some roasted veggies or a fresh salad, and you’ve got a meal that’s as easy as it is impressive.